Steel Division 2 – Beta Manual
Welcome to the Steel Division 2 Beta Manual! Here you will find the basics to start to play and enjoy the Beta. Secure your access to the beta now by pre-ordering the game:
Have fun!
Introduction
Commander, welcome to the Steel Division 2 closed beta. We have been expecting you!
Steel Division 2 is the widely anticipated follow-up to the popular tactical RTS Steel Division: Normandy 44. Like the previous installment in the series, Steel Division 2 is not only being developed but also self-published by the French independent studio Eugen Systems (R.U.S.E, Wargame series).
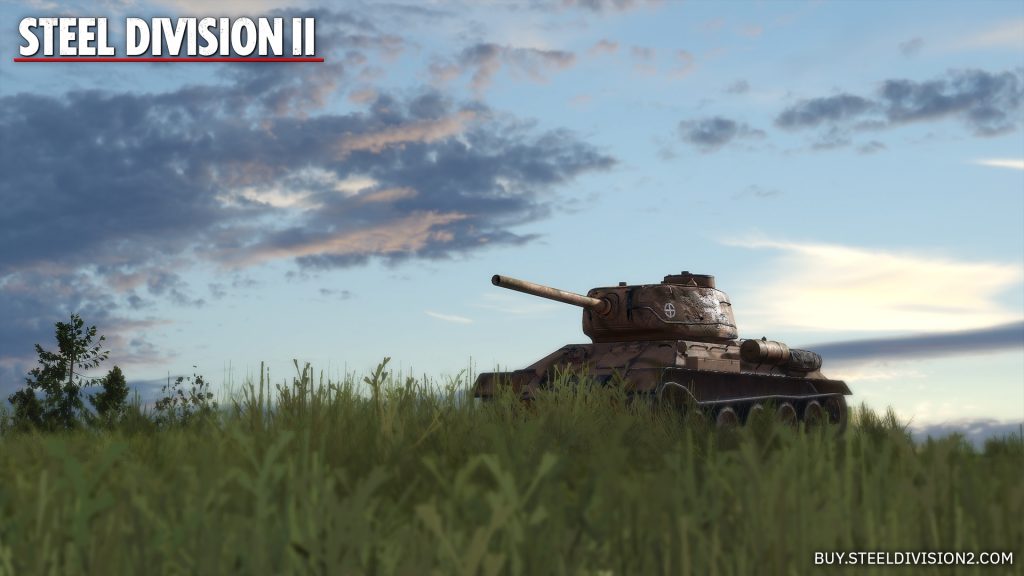
The beta for Steel Division 2 is divided into five distinct Beta Phases, each phase lasting 48 hours. You will have access to all the Beta Phases, with each one bringing you exciting new content.
You will be given a feedback form for you to fill out at the end of each Beta Phase. Your opinion matters to us. Together we will be able to build a better Steel Division 2.
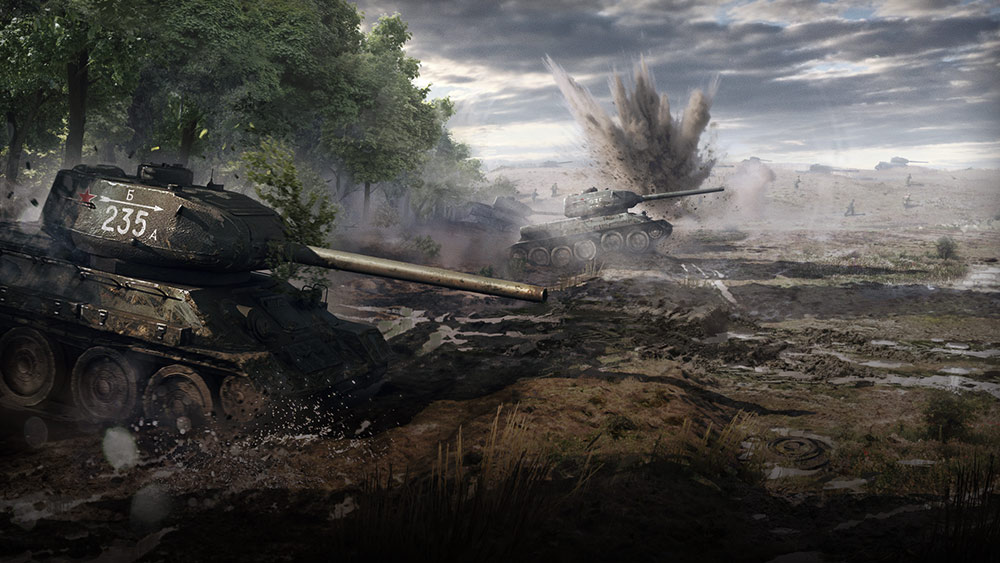
In the beta, you are given the opportunity to command either the Red Army’s mighty 2nd Tank Guards Corps or the Wehrmacht’s battle-hardened 5. Panzerdivision, as they fight it out across two distinct maps: Orsha North and Vitebsk East. You can do battle in multiplayer, or play against the AI in Skirmish, either in Conquest mode (Eastern Front and Closer Combat variants) or in the updated Breakthrough mode featuring the new defensive structures.
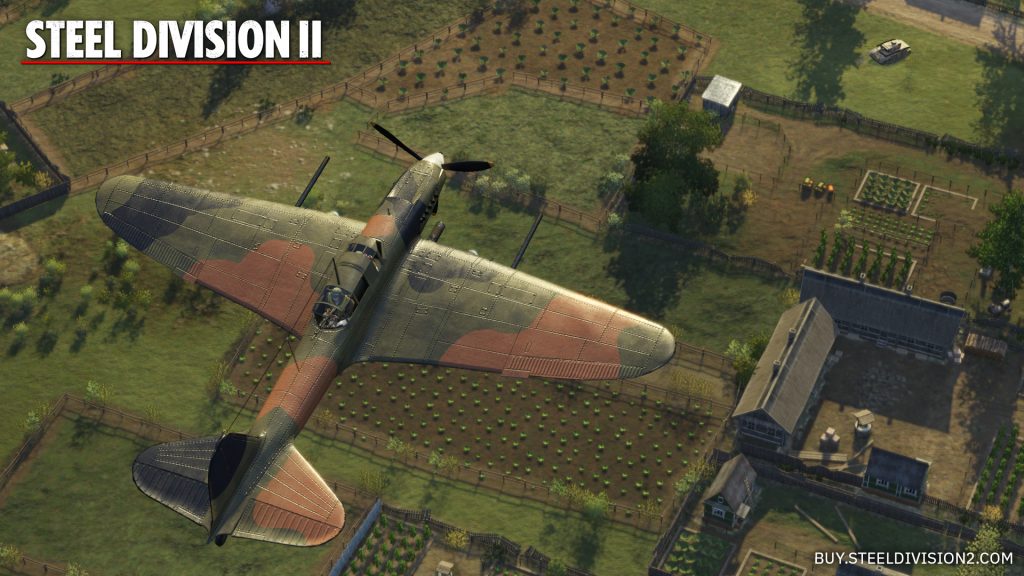
Commander, study this manual carefully and surely you will be victorious on the battlefield. Get ready to fight!
Lead Historic Divisions
Steel Division 2 will ship with 18 divisions. In the beta, two iconic divisions will be at your disposal.
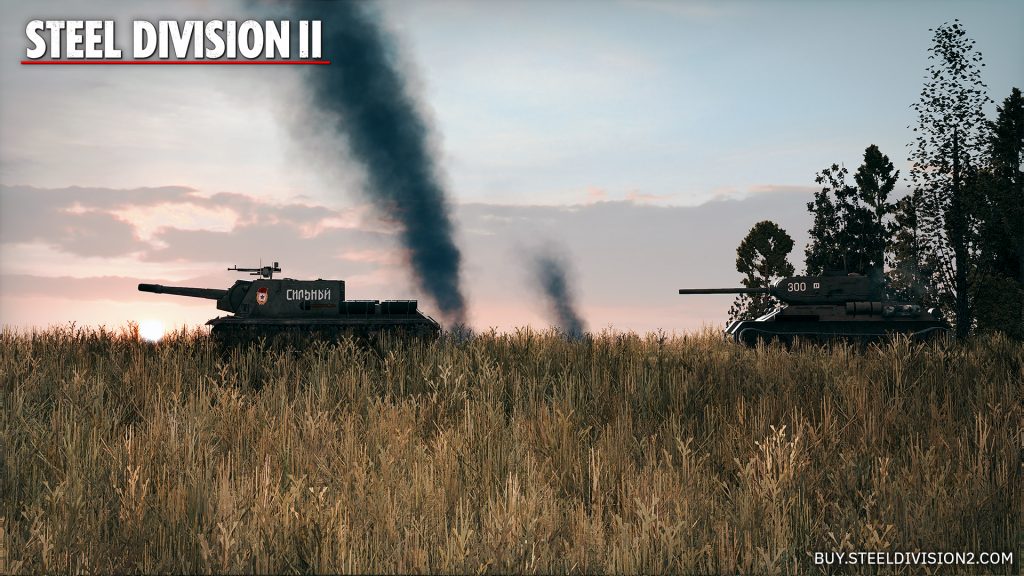
2nd Tank Guards Corps
The paragon of the Soviet armed forces, the 2-y Gvardeyskiy Tankovy Korpus (2nd Tank Guards Corps) was at the forefront during Operation Bagration, breaking through at Orsha with the 11th Guards Army. Forged by the brutal engagements of Stalingrad and the Battle of Kursk, the 2nd Tank Guards Corps was considered to be one of the premier Soviet fighting units on the Eastern Front.
5. Panzerdivision
The battle-hardened 5. Panzerdivision (German 5th Armored Division) was one of the strongest Wehrmacht formations on the line at the start of Operation Bagration and quickly called in as much-needed reinforcements to stem the Red Army’s onslaught. Bringing years of combat experience, this elite division managed to advance the closest on Moscow during the winter offensive of 1941 before being turned back by the Soviet counter-offensive.
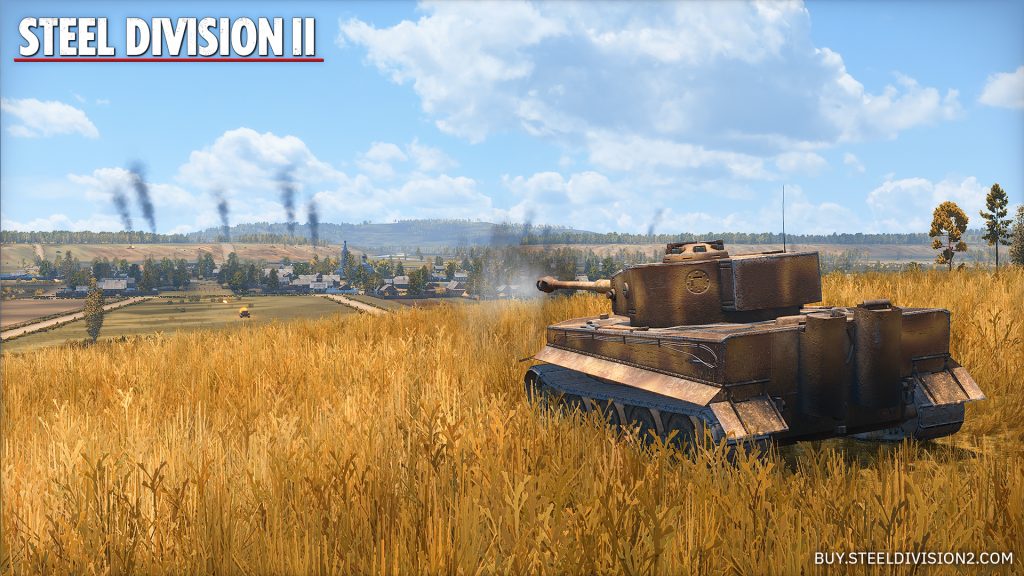
Fight on Memorable Battlegrounds
Steel Division 2 features 25 tactical maps set on the Eastern Front, all painstakingly researched and recreated from real-life aerial photography and authentic World War 2 ordnance maps. These locations saw some of the fiercest and most important battles of Operation Bagration.
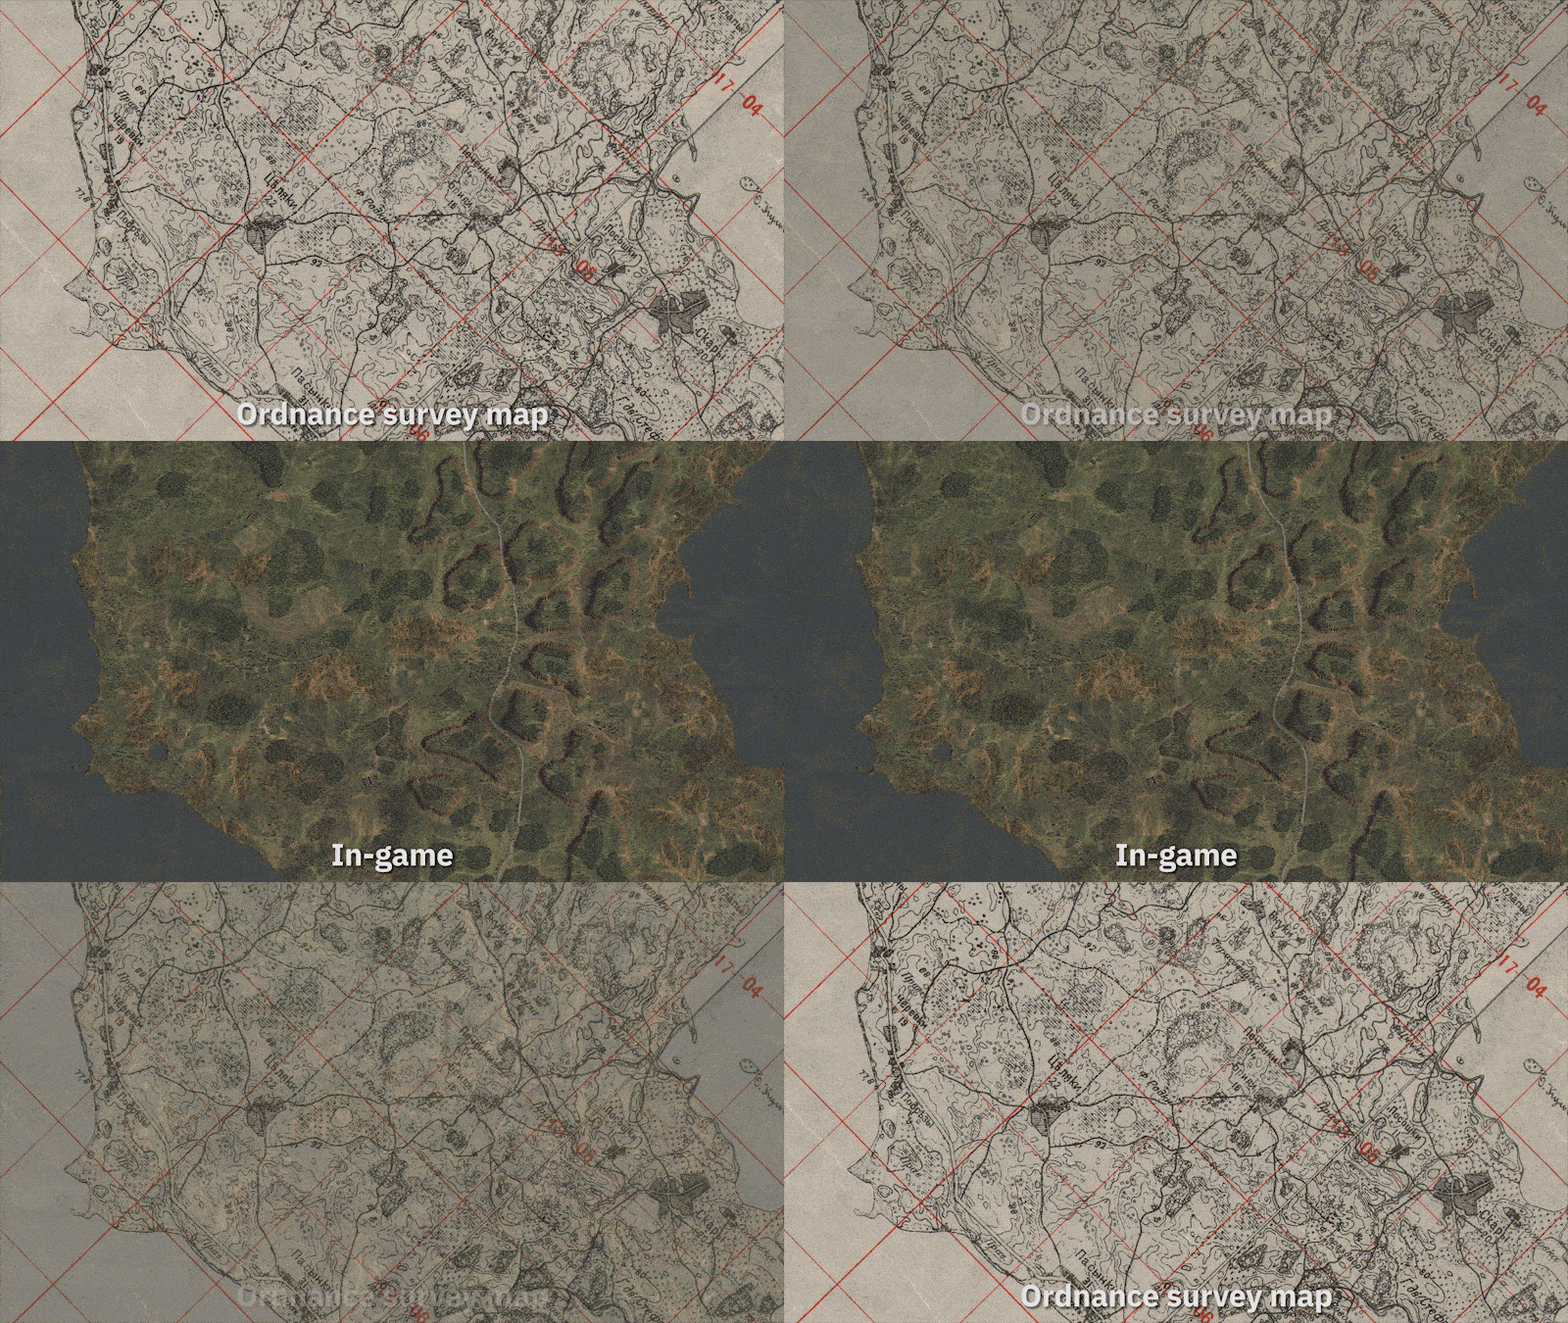
Lake Naratch, one of the maps available in the full game
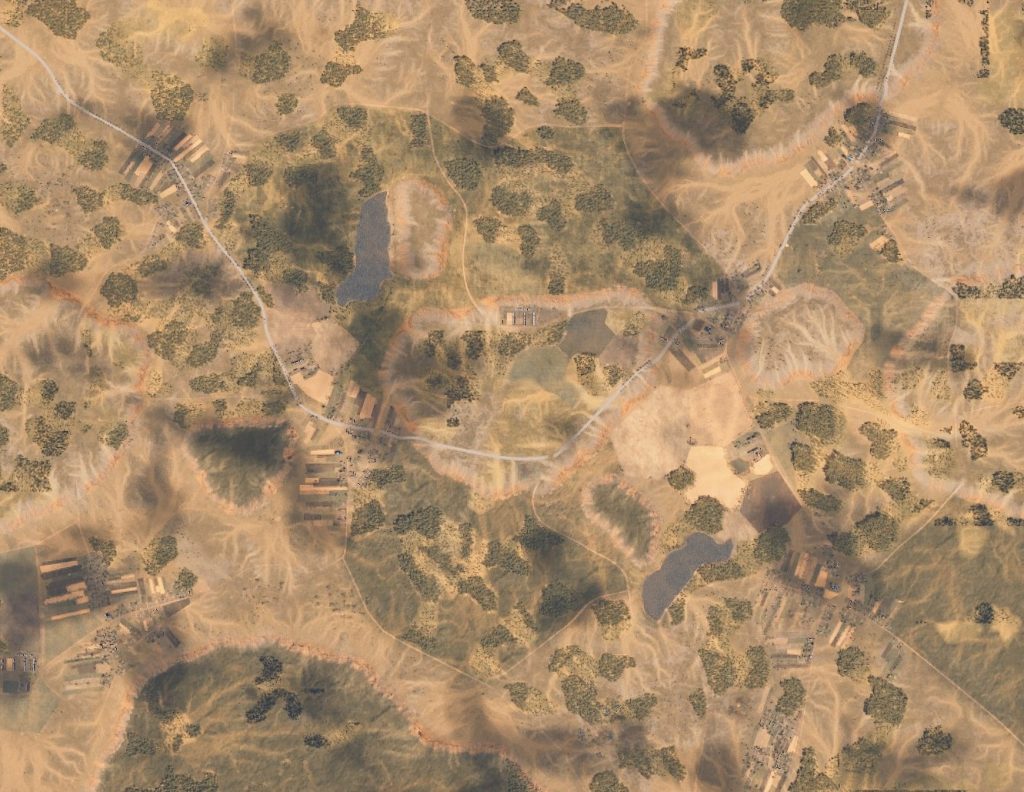
In the first phase of the beta, you will be able to fight on two maps: Orsha North and Vitebsk East. These small maps can be played from 1v1 up to 4v4 players.
Observe the terrain, Commander, and play it smart. There are many roads that lead to victory.
Orsha North
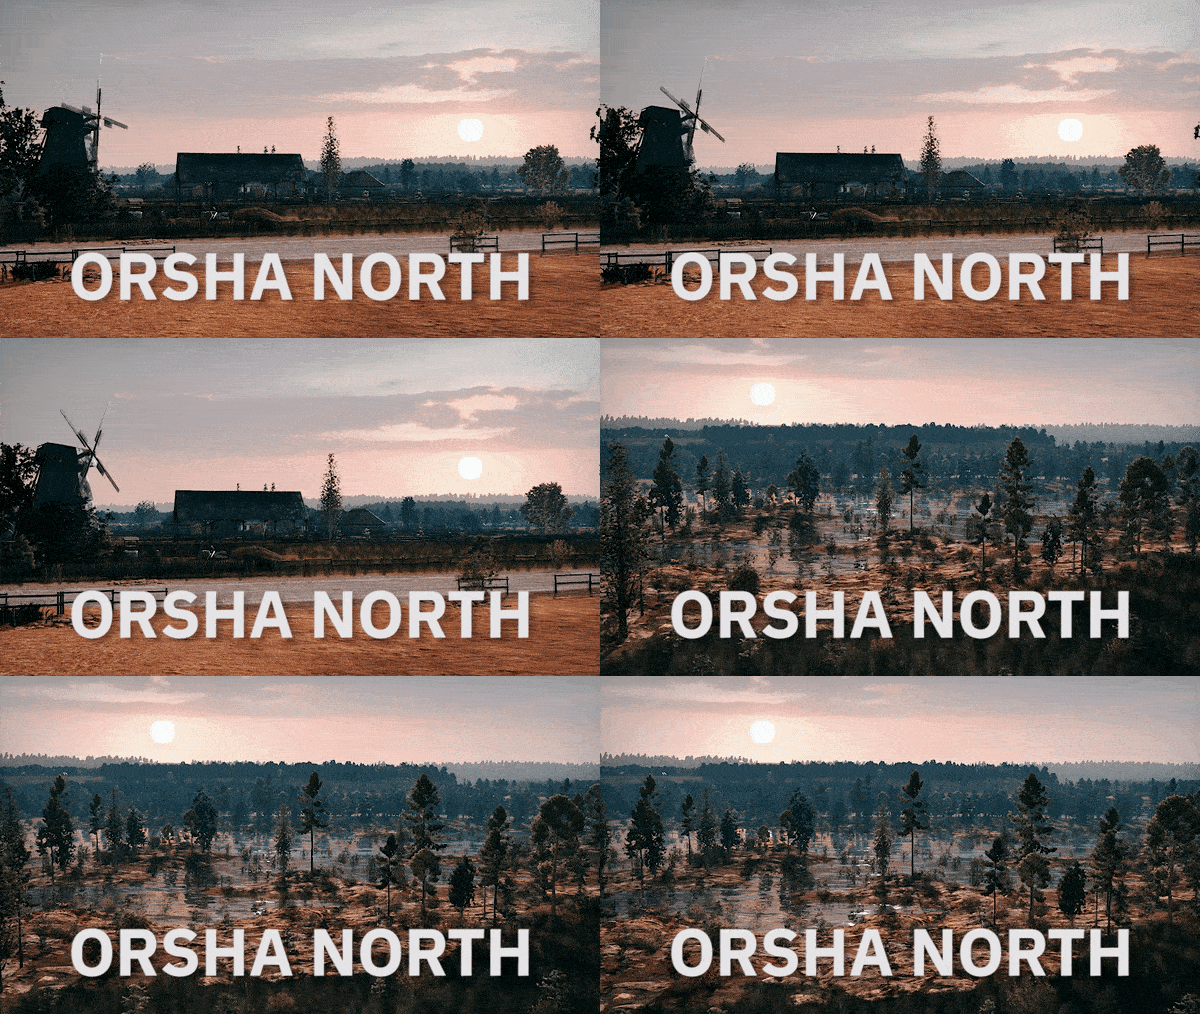
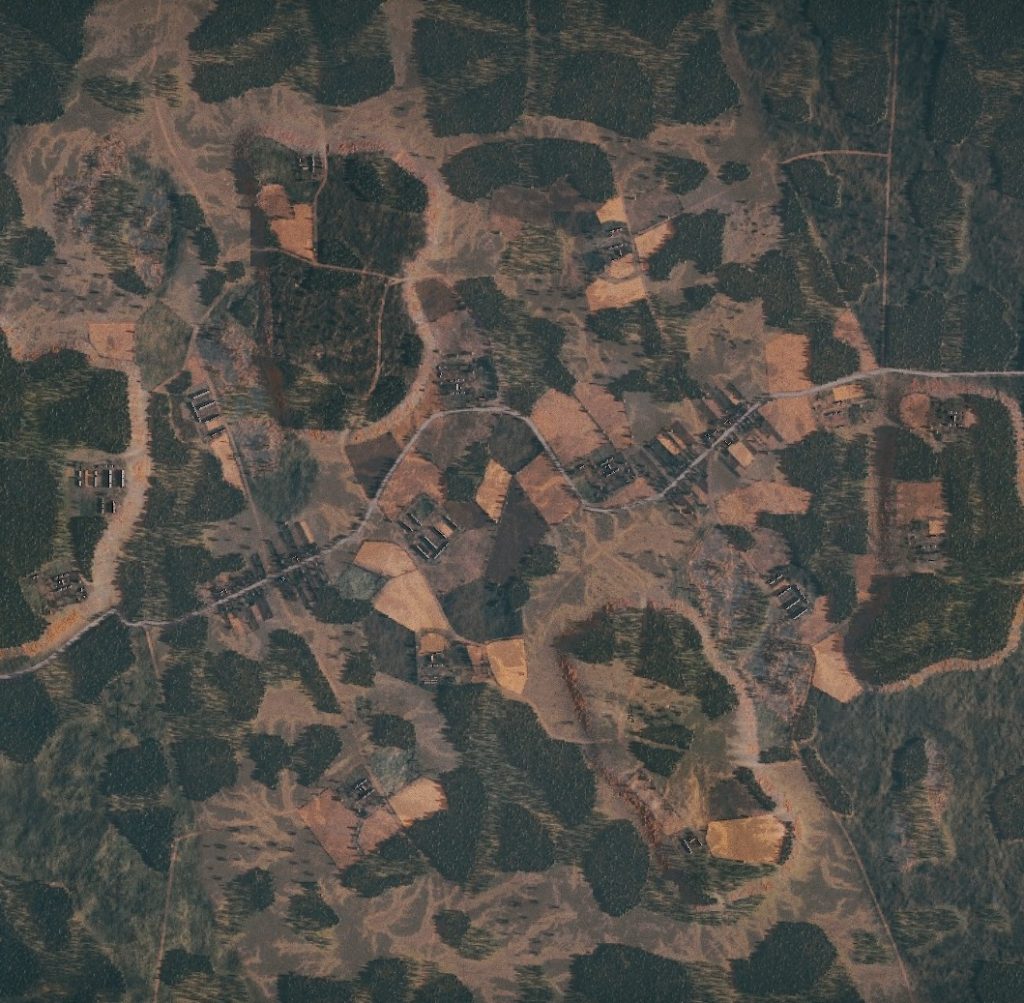
The town of Orsha was a crucial transportation hub for the Germans, situated close to the frontline, and one of the main objectives for the Soviet offensive. A strategically important location, the Wehrmacht and Red Army will engage each other in the countryside to the north of Orsha proper, and fight it out across terrain replete with dense forests and prominent hilltops and plateaus.
Game tips: A highway snakes through the center of the map, with two small villages situated along it. These serve as natural choke points if defended by well-entrenched infantry. Four large plateaus, wooded to a degree, command the surrounding countryside, offering excellent lines of sight for tanks, artillery or anti-tank guns.
Vitebsk East
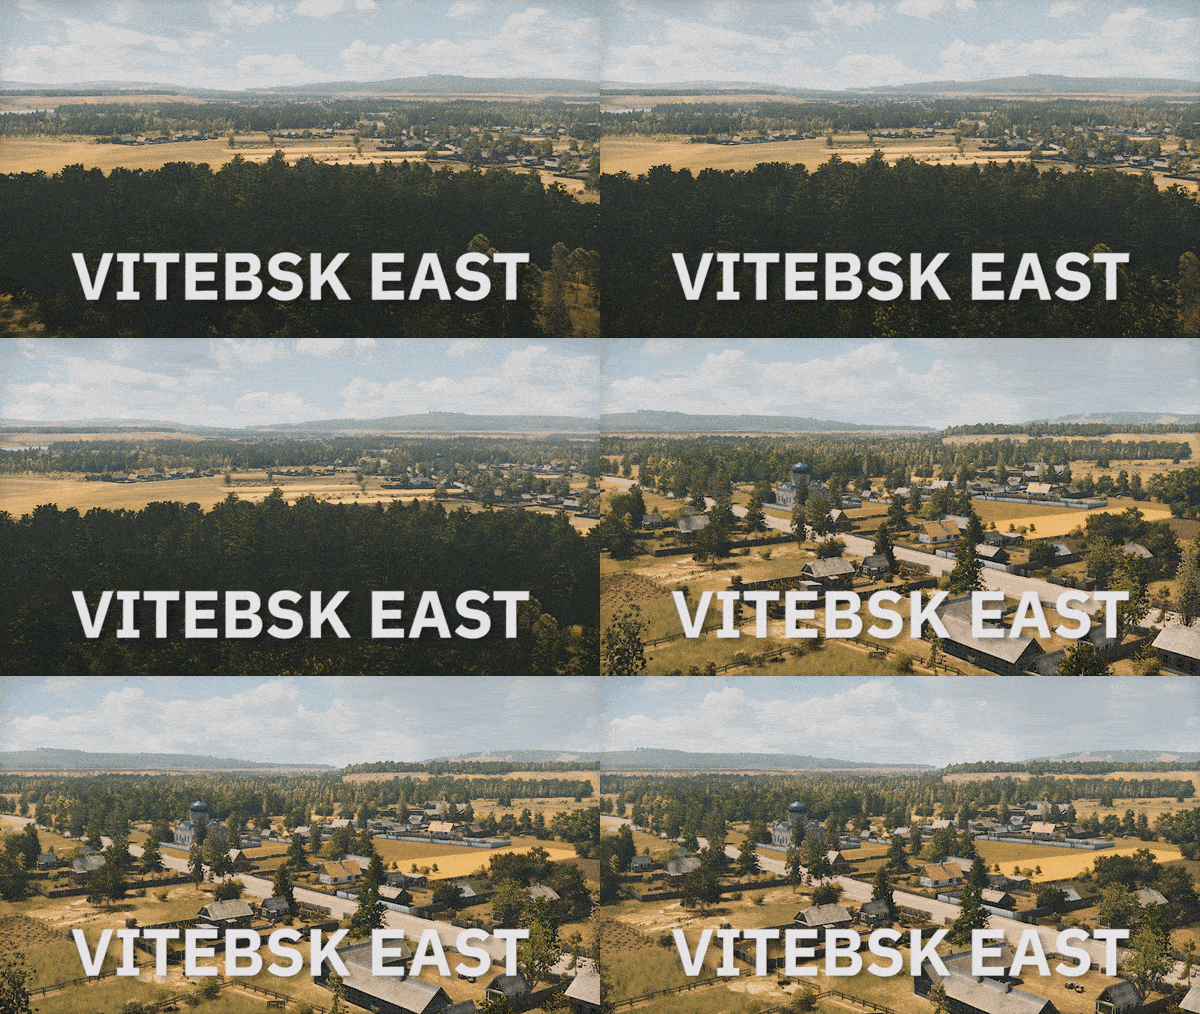
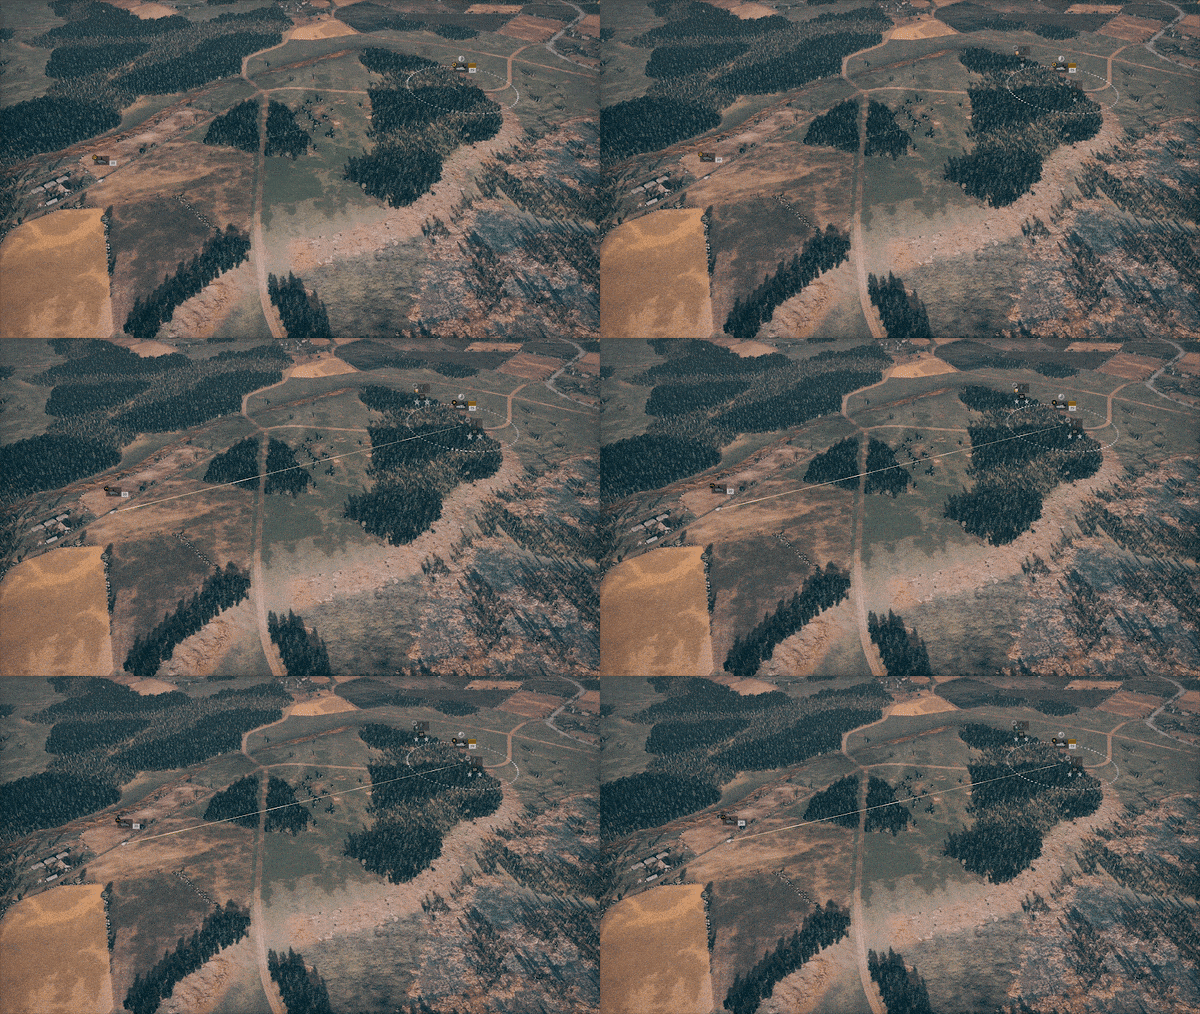
This location was the Red Army’s first objective in the initial stages of Operation Bagration. Located in northeastern Belarus, Vitebsk East is lake region situated on the banks of the Daugava river, which formed a natural defensive line for the German 3rd Panzer Army to hold. The map features lakes, a highway, and one prominent central plateau with dense forests, while smaller hills are located on the edges of the battlefield.
Game tips: Who controls the hill, controls the map on Vitbesk East. A highway runs through the middle, like Orsha, but most of the fighting will take place on this central plateau. Lakes, forests and smaller hills on the flanks can either be considered natural obstacles, or great ambush points.
Tactical combat
Gameplay
The real-time tactical battles of Steel Division 2 should be familiar to fans of Steel Division: Normandy 44. We have updated or changed many of the underlying game mechanics and features, including the introduction of new units, so be sure to read the following carefully.
The 4-phase tactical combat
Tactical battles in Steel Division 2 are divided into 4 distinct phases.
In Phase 0, the deployment phase, players need to place their units in the dedicated areas.
In Phase A to C, real-time combat begins, with each new phase allowing for additional units to be placed. Each phase also nets you a certain amount of points, depending on your Battlegroup’s income. While the first phases might see the deployment of lighter units, later phases will see the full gamut of combined forces come into play: the heaviest of tanks, the most advanced airplanes, the most destructive artillery.
Phase 0 – Deployment
- Placing units in the dedicated areas
- Roads are faster
- Giving the first orders that will be executed when the battle starts
- Deployment points
Phase A, B & C – Combat
- Phase & ecomony
- Requisition points
- Active pausing in solo
The Dynamic Frontline and Capture Points
The Dynamic Frontline is one of the most powerful visual tools in Steel Division 2. This line shows the ratio of power and level of influence a player has during a battle and will change according to the unit’s actions in the field. Every time a unit pushes forward, the line moves accordingly; if a unit routs or gets destroyed, the line drops back. The Dynamic Frontline serves as an objective indicator of how much influence a player has, and is tied directly to winning a match.

Suppression and Surrender
Every unit in Steel Division 2 has a suppression meter, appearing above the unit’s label when under attack. Different things happen when a unit starts to become suppressed.
- The more stressed a unit is, the less efficient they become on the battlefield.
- When the suppression meter is full, the crew of a motorized unit will bail out, while an air unit will automatically leave the area.
- If an infantry unit gets fully suppressed, they will be unable to move, unless the player tells it to retreat by pressing the “R” key.
- If a fully suppressed unit finds itself behind enemy lines, in the opponent’s influence zone, and with an enemy unit nearby, it will surrender and as a result removed from play.
Game Modes
The Steel Division 2 beta features three distinct game modes: Conquest (Eastern Front), Conquest (Closer Combat), and Breakthrough.
Conquest (Eastern Front)
In Conquest mode, Eastern Front variant, players will start on opposing sides of the map, their respective deployment areas close to the border. Transport vehicles will be vital to quickly move troops and take control of the Capture Points scattered across the map.
Conquest (Closer Combat)
Similar to Eastern Front, the Closer Combat variant of Conquest mode sees players deploy much closer to each other. With both sides already controlling one-third of the map, the battlefield between the two deployment areas will only be 2000 meters wide.
Breakthrough
Updated from the previous game, Breakthrough mode sees an attacking and defending side. Players who are on the attack will start on one edge of the map, controlling none of the objectives. Defending players control all of the objectives, and can deploy fixed defensive structures such as bunkers and barbed wire. The game’s economy is adjusted with attacking players having access to more resources.
Orders
Returning fans of Steel Division: Normandy 44 will recognize the inclusion of two new orders to the commander’s tactical toolbox.
Efficient Shot
This powerful new order (“X” key + left click at position) that tells the unit to hold fire until it has a penetration chance of 40% AND a hit chance of 40% on target. Only if these variables are met or exceeded will the ordered unit fire at an opponent. An excellent order for ambushes.
Quick Hunt
This new order (“X” key + left click at position) works as a fusion between the ‘Move fast’ order and the ‘Attack’ order. Giving the ‘Quick Hunt’ order to a unit will make it fast travel using the road network but stop and attack any enemy troops if they are spotted along the way. An aggressive, search and destroy move.
Commanders
An important new unit can be found in Steel Division 2: the Commander. These valuable units provide a powerful boost to close-by troops. You can only bring one Commander unit per phase.
Like the subordinate Leader unit familiar to fans of the previous game, the Commander works with a ‘leader aura’ of 240 meters. Within this white-dotted circular area of effect, each unit will receive +2 XP to their experience level, and can’t be forced to surrender.
Not only that, the new Chain of Command mechanic allows your Commander units to link with Leader units if they are within range (1500 meters). If this connection is established, each linked Leader unit will provide an additional +1 XP. Each linked Leader in turn projects it’s own connection for another 1000 meters, allowing Leaders even further afield to give the same benefit to troops close at hand.
Radio
Another new unit bringing its own unique mechanic is the radio-equipped Artillerist unit. These special troops will be able to help your artillery pieces to rain more accurate fire on the enemy with the Corrected Shot mechanic.
Defensive Structures in Breakthrough Mode
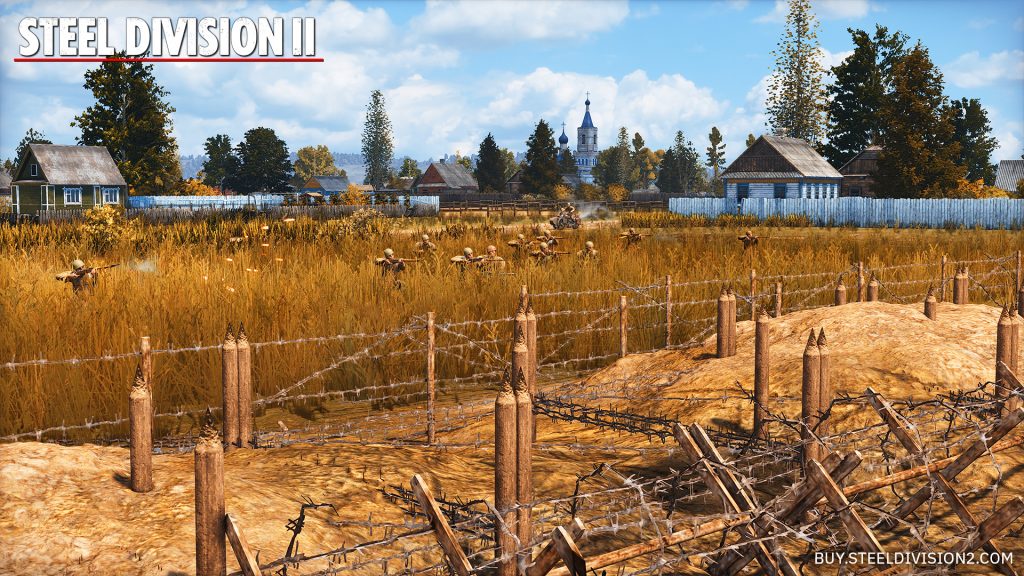
An exciting new feature in Steel Division 2 is the introduction of buildable defensive structures in Breakthrough mode. If you are the defending player in a Breakthrough match, you are now able to place your defensive structures in the deployment phase.
There are several types of defenses you can place:
- Barbed wire: A stretch of barbed wire will slow down any enemy troops – tanks and vehicles included. Barbed wire is “painted” on the map and measured in meters.
- Trenches: Deployed in the same manner as barbed wire, trenches will shelter infantry, offering the same amount of cover as being garrisoned in a house.
- Gun pits: These open-topped structures will protect a single piece of large equipment, such as anti-tank guns, AA guns or artillery. They are placed empty, and the player will have to define the field of fire.
- Bunkers: These hardened structures are essentially stationary weapons (machine guns, anti-tank rifles or guns) with armor. They are fixed positions, very well-protected, but with only a limited field of fire.
Players can paint on the map to draw where they want the barbed wire or trenches to go. The game will show you if there are any obstacles, such as rivers, hills or forests. The other structures are placed one at a time. The player can also rotate the defensive structures.
Defensive structures are like any other unit in your deck: they have their own category, and each unit card brings a certain number of individual structures or deployable length (in meters). Each division will have access to the same structure, but they can only be used in Breakthrough mode by a defending player.
Victory conditions
New in Steel Division 2 are the objective-based Capture Points. Each map in the closed beta holds 24 of these points. They can be found in all three of the modes.
Advancing the frontline to cover one of the Capture Points will bring them into the possession of the player. The more of these points one side controls, the more it will drain Conquest Points of their opponent.
The game ends when one side reaches zero Conquest Points.
There are a couple of possible outcomes:
- Draw: If the team possesses the same number of objectives.
- Minor Victory: If one team possesses +50% of the objectives.
- Major Victory: If one team possesses +75% of the objectives.
- Total Victory: If one team possesses +85% of the objectives.
Tutorial
General tips for beginners
Our games are demanding and can be intimidating the first time you play. By taking the time to learn the basic mechanics, you are making your first steps on the road to Steel Division 2 mastery. It might take some practice, but becoming the ultimate commander will be extremely rewarding!
Here are some tips for beginners:
- Begin by playing a Skirmish match versus a Very Easy AI on a small map (Orsha North).
- Use the Active Pause (“P” key by default) as much as you can: will allow you to pause the game while still giving orders.
- Use the “Autofill” function when building your first Battlegroup.
Building your first Battlegroup
The Battlegroup is the selection of units you will deploy during the game. Each Battlegroup is created using our new Deck Builder. You first select a parent Division which will define the unit cards at your disposal, as well as the number of slots in each category. When building your Battlegroup, you need to think about how you want to deploy your units in each phase.
To build your battlegroup, click on the “Create Battlegroup” in the main menu and select a Division.
By clicking on “Auto-fill”, the battlegroup will be filled with units selected by the development team. You can customize this Battlegroup or start editing your own by clicking the “Edit” button.
In Steel Division 2 units are divided into different categories. These are:
- Recon
- Infantry
- Tank
- Support
- Anti-Tank
- Anti-Air
- Artillery
- Air
- Defense (only in Breakthrough mode)
Each category has a number of open slots, which cost Activation Points to use. Each Battlegroup has a total amount of Activation Points, indicated on the top-right of the Deck Builder screen. You can see that the cost rises with each additional unit card.
A new feature in Steel Division 2 is the Deployment Type option in the Deck Builder. This determines the amount of Requisition Points players will receive per phase. Now you can select how many points you want to have available for each phase, with four templates to choose from. Each template focuses on a different phase.
The deployment types are:
- Balanced (100/140/170)
- Juggernaut (90/120/230)
- Vanguard (130/120/110)
- Maverick (120/160/80)
When you click on a category, the available units appear on the left of the screen. The unit card packs are made like this:
When you select a unit card, two information panels will be shown on the right of the screen. On top, the Unit Configuration screen. On the bottom, detailed unit and weapon statistics.
Another new mechanic in Steel Division 2 is that unit cards are no longer bound to a phase. The Unit Configuration panel allows you to customize your unit, including which phase they will deploy. You can also determine their experience level. Both options will affect the available units per card. For recon and infantry, you can also select the transport vehicle.
To add a unit pack to your Battlegroup, click on the “Add Battlegroup” button in the Unit Configuration panel.
Deploying Units
At the start of a battle, in Phase 1, you can only deploy the units from your Battlegroup in the deployment area. This is a limited section of the map, shown as a colored rectangle on the battlefield. To deploy a unit, click on the deployment menu in the top left corner and chose a unit’s category. Click on a unit card and finally place it by clicking left on the map. You can remove a unit right-clicking on it on the battlefield, it will be put back in the deployment menu.
Once your units are placed, you can give them orders that will be executed when the battle properly begins with the start of Phase A. To give an order, left-click on the unit on the battlefield, then select an order and click on the place you want that order to be executed.
Each unit costs Requisition Points to be deployed. During a battle, you will gain a certain amount of income per phase (A, B, C) that depends on the Deployment Type you selected for your Battlegroup.
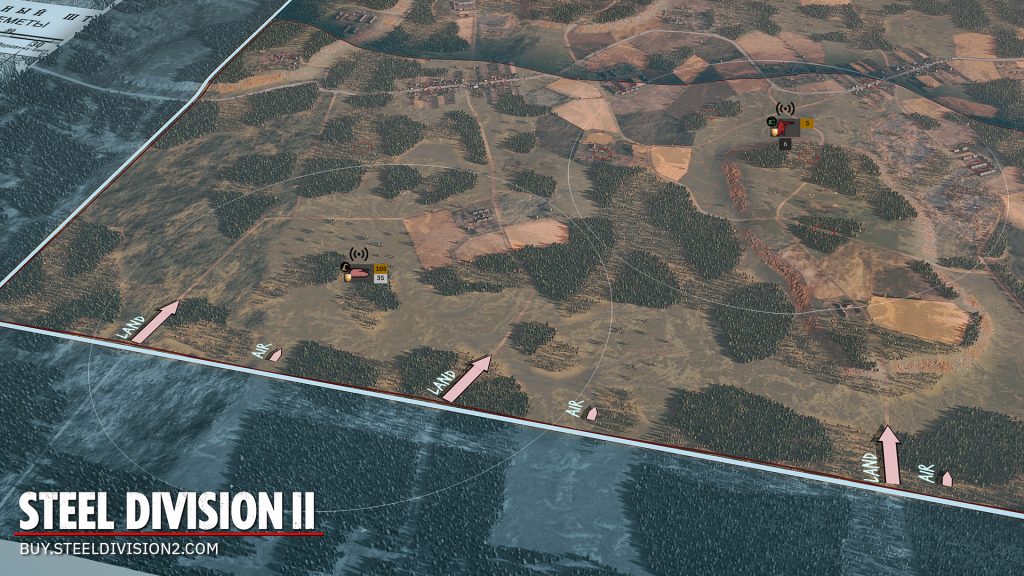
When you zoom out, you can see the way new units will enter the map once a battle is underway. Large arrows for Land and Air routes are displayed on the border of the battlefield. If the enemy controls one of these entry points, you cannot deploy units anymore.
Moving a Unit
There are several ways to move a unit, depending on its category.
Infantry, foot units:
- Hunt (“Q” key or “A” key for AZERTY + left click at position): The unit will move to the position, using as much cover as possible and will automatically engage a spotted enemy.
- Move (Right click at position): The unit will move straight to the position.
Vehicles:
- Move Fast (“F” key + left click at position): The unit will move to the position as fast as possible, using roads.
- Move (Right click at position): The unit will move straight to the position.
Unload a transport
Most of the infantry units, as well as some anti-tank and artillery, come with a transport vehicle. When you deploy the unit, you deploy its transport, and the unit needs to be unloaded on the battlefield. This kind of units can be spotted thanks to its label.
There are two ways of unloading a unit:
- Unload (“U” key): The transport will unload the unit immediately.
- Unload at Position (“Y” key + left click at the desired position): The transport will take the fastest way to the position and unload a unit. If the unit is unloaded near a cover (a building, a hedgerow…), it will automatically move to cover.
Notes: Roads are the fastest way to travel across the battlefield. Vehicles and soldiers are slower in a forest or on a field, but it may be a better cover. Choose your path wisely. Deploy your men in safety or else they may be ambushed by the enemy out in the open.
Engaging a Unit
- Normal Attack (Right click on the enemy): The unit will attack the designated enemy.
- Attack position (“T” key + left click at position): The unit will attack the designated position, whether there is a spotted enemy there or not.
Artillery only: Smoke position (“B” key + left click at position): The unit will smoke the position, blinding the enemy. - Riposte (“Z” key or “W” key with AZERTY): The unit will only shoot if it is targeted by the enemy.
- Quick Hunt (“X” key + left click at position): A unit following this new order will move fast using roads, but stop and attack if it spots an enemy.
When a unit fires, it needs time to reload or adjust its aim. This is displayed as a timer above the unit label. When the chrono is full, the unit is able to fire.
Protecting and Hiding
Units can be protected and even hidden on the battlefield. It’s particularly useful if you want to ambush your foe or do some recon work. The new defensive structures in Steel Division 2 (trenches, gun pits, bunkers) also provide protection. When a unit is selected, and when you move your cursor on the map, it will display the level of cover.
For example, if you want to hide an infantry unit in the forest, click on your unit, then hover over the woods with your mouse and when the cursor turns green, click on it. When the unit is hidden, its label flickers. Units can also take cover in buildings. When your squad is inside, the building will appear in your units’ color.
Supplying a Unit
When a unit is out of ammo, an ammo icon flickers near its label. To resupply a unit with ammo, you need to bring a supply unit next to it. A blue icon flashes during the supply process.
Orders and Line of Sight
You should consider two things when you want to establish if you can move or fight:
- The range of the selected weapon
- The line of sight of the unit
Steel Division 2 offers you different tools to estimate if your action is worth it:
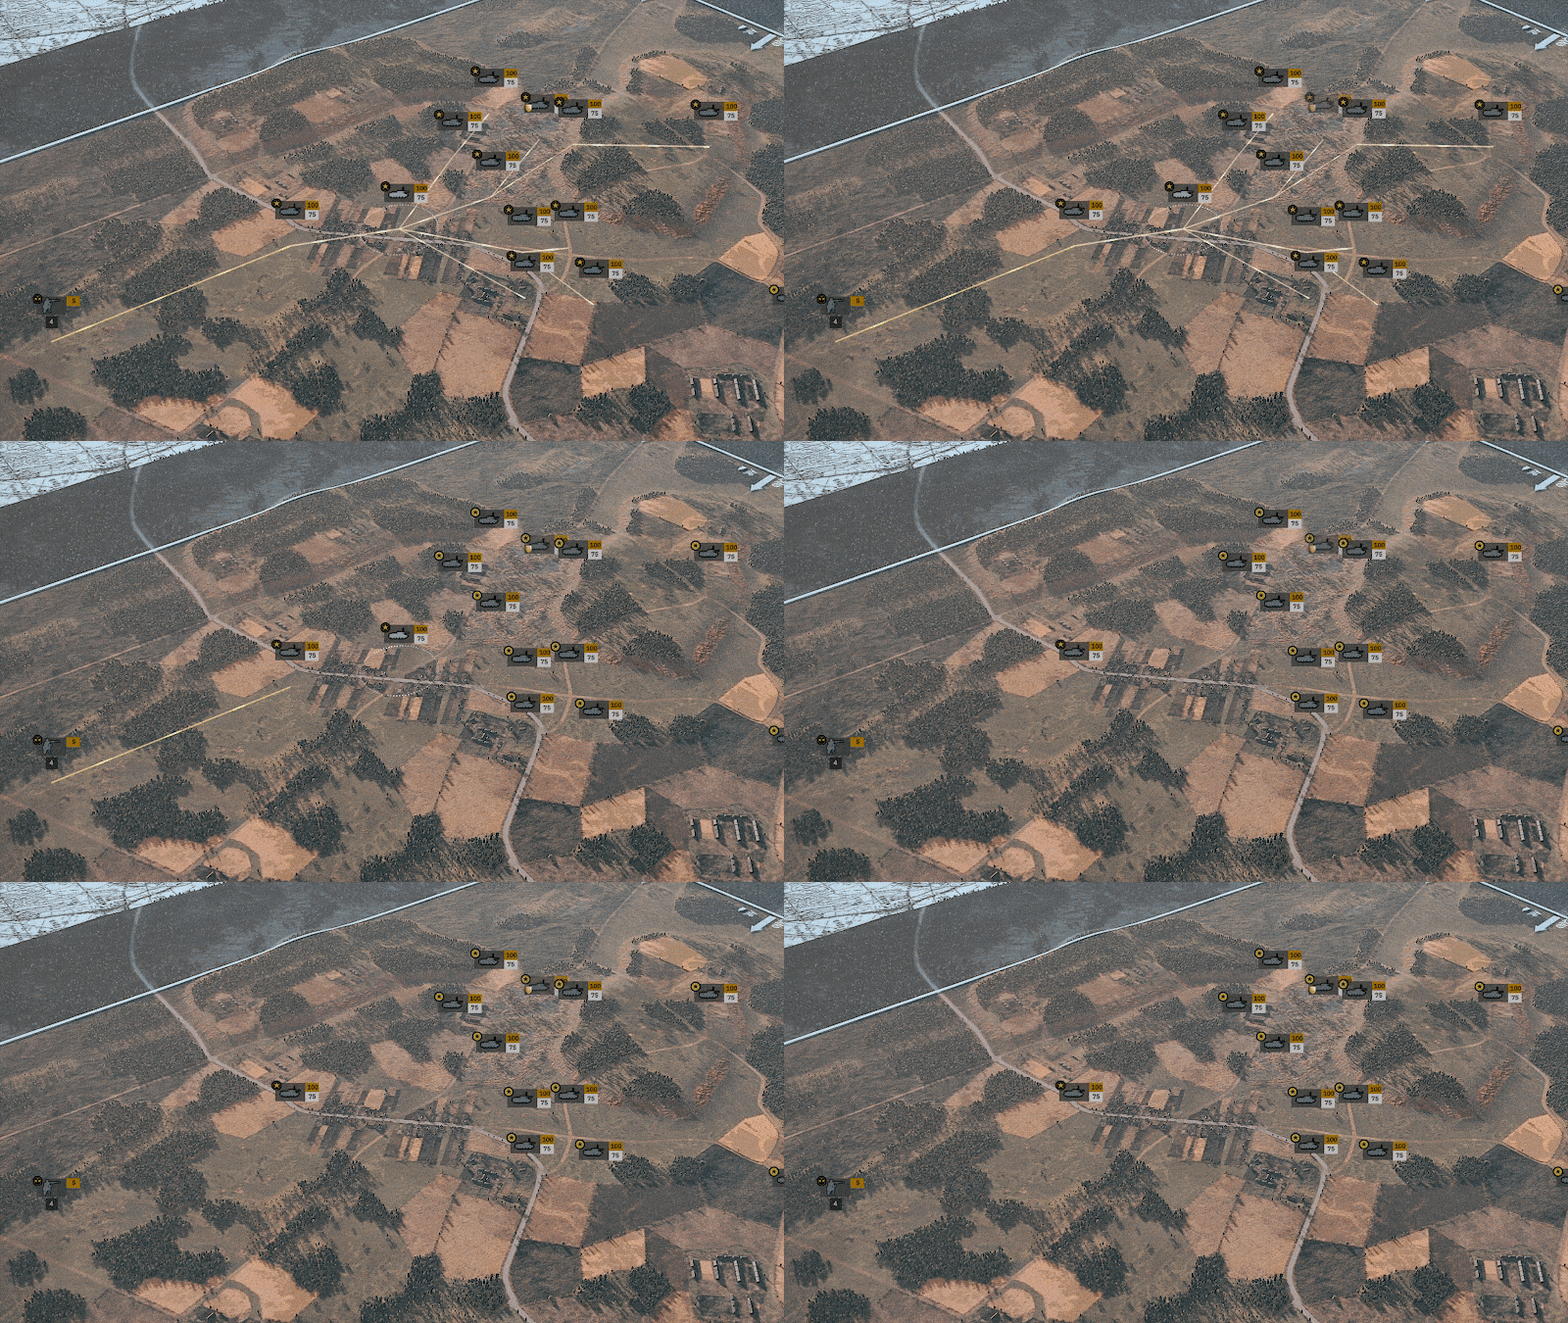
- “Shift” key: Displays every order you gave, like how far a unit is to its destination, but also targets and other information.
Different colors mean different actions
- Azure / Sky blue: Normal Move
- Blue: Move fast
- Red: Attack mode
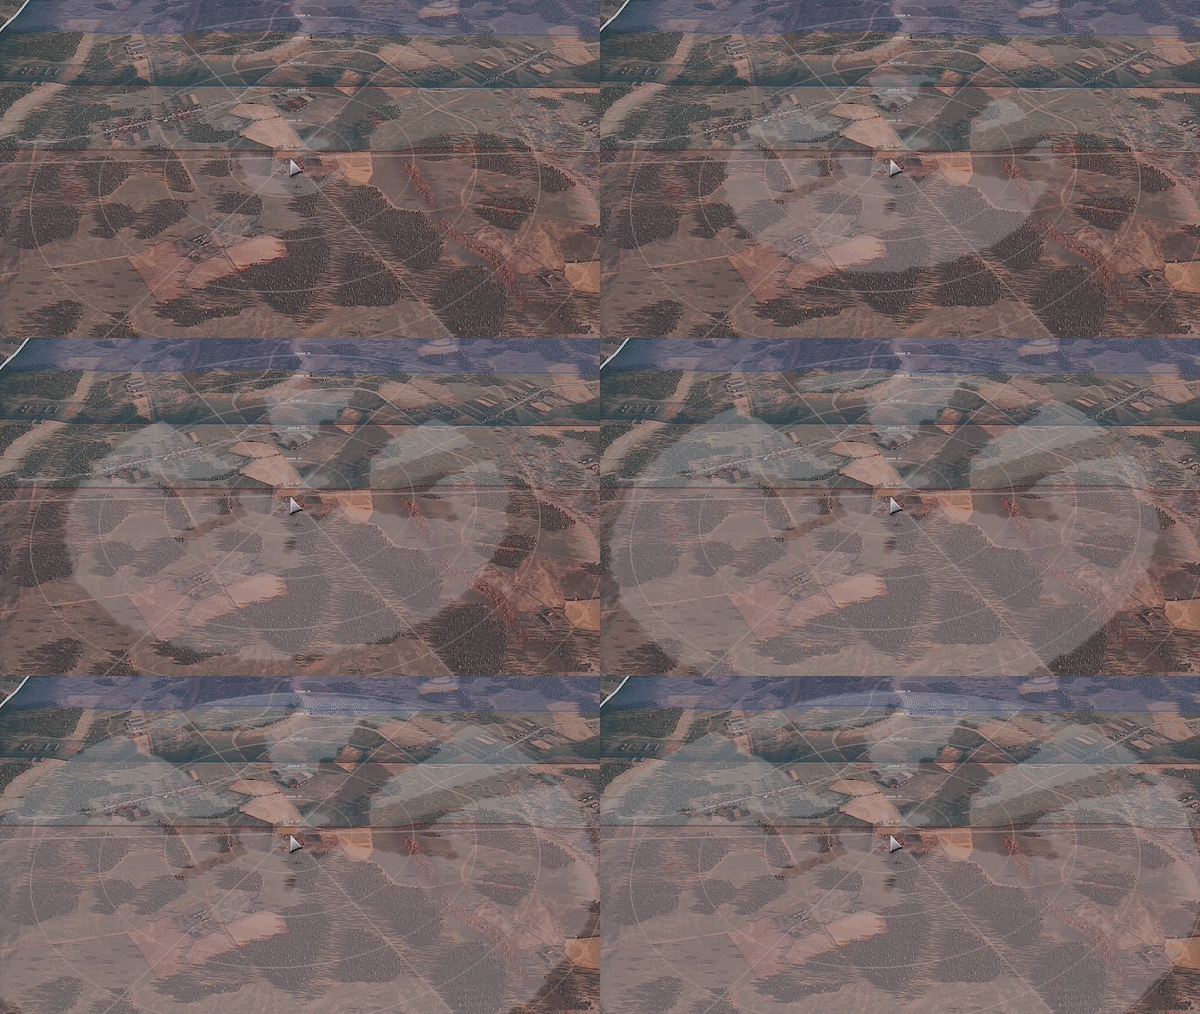
Check your surroundings: One circle in the Line of Sight tool equals 250 meters. The white area is what the unit can’t clearly see. In Steel Division 2, elevation is also taken into account. Use this to plan your unit’s actions carefully.
Recon
Reconnaissance units are the ears and eyes of your Battlegroup and are indispensable in scouting the battlefield and locating the enemy. As they don’t move the Dynamic Frontline in Steel Division 2, they are more discreet. As such, they can explore enemy territory more easily. Nevertheless, recon units are relatively weak and must be used carefully. They are not invisible and that they can be detected even while hidden. Try to position your reconnaissance units in elevated positions like hills and towers. Sometimes, you can disable the weapons of your reconnaissance units to keep them concealed.
This interface allows you to activate or deactivate the unit’s weapons. Click on a weapon in the menu to do so.
Aircraft and Off-Map Artillery
When you deploy an aircraft or an off-map artillery unit, it appears on the bottom left
of the screen in the off-map unit panel. To deploy an off-map unit, click on its name in this interface and right-click where you want it to go. The off-map units panel lists all of your off- map units and indicates their status. The gauge slowly decreasing represents the fuel limitations. Once it’s empty, the plane evacuates for a certain time to refuel and rearm, before being ready to be deployed again.
Air units have various functions depending on their load-out. They can be used to scout and unveil enemy positions, to intercept and engage other aircraft, or to attack ground units. Anti-Air units serve to protect your main units on the battlefield, they can suppress aircraft in their range.
Tanks and Anti-Tank
Tanks are powerful units able to fight against all ground units. They have weaknesses, including a narrow field-of-view. You need to use your recon units to unveil enemy troops, allowing your tanks to attack them before they have the time to react. Don’t rush the enemy with your tanks without scouting ahead!
You can use the “C” key to check your unit’s line of sight. Hitting the “J” key will reverse your tank, allowing it to turn its more armored front to the enemy. Anti-tank units are perfect for protecting your flanks and for ambushing any tank reckless enough to move too fast, too far.
Interface
Game interface
In the top left corner of your screen, the deployment menu allows you to deploy your units. Pick a unit’s category and then a Unit Card to place a unit on the map. It will also show you your Requisition Points and your current income.
In the bottom left corner, the off-map interface allows you to deploy aircraft and manage off-map artillery strikes.
In the top right corner, you can see the influence area on the map and the domination gauge. You also can keep an eye on the unit counters. On the top, you can see the time remaining, not only until the end of the match but also until the end of the phase. Finally, this interface allows you to change the game speed, from bullet time to very fast.
In the bottom right corner, you can find the interface for unit controls. It allows you to give orders to your troops, as well as deactivating their weapons. It also delivers information concerning your remaining ammo and your unit’s stress level.
Keyboard Shortcuts
Controlling the Camera
Keyboard controls – Qwerty
- W – Up
- S – Down
- A – Left
- D – Right
Keyboard controls – Azerty
- Z – Up
- S – Down
- Q – Left
- D – Right
Mouse
- Middle button + mouse movement – Rotate
- Scroll wheel – Zoom in / Zoom out
Controlling a Unit
- Left-click – Select a unit (holding the button will allow you to select several units at the same time)
- Double left-click – Select the same kind of units in the area
- Right-click – Move a unit to the destination
- Q or A + left-click – Hunt
- X or X + X – Quick Hunt
- F + left-click – Move Fast (for land vehicles)
- U – Unload (for transport vehicles)
- Y + left click – Unload at position
- T – Fire at position
- X or X + X – Efficient Shot
- B + left click – Smoke position (for artillery)
- E – Stop moving and firing
- W or Z – Trigger the Riposte stance
- R – Retreat a panicked unit
- J – Reverse your tank
- C – Line of sight
- N – Activate or deactivate the auto cover

